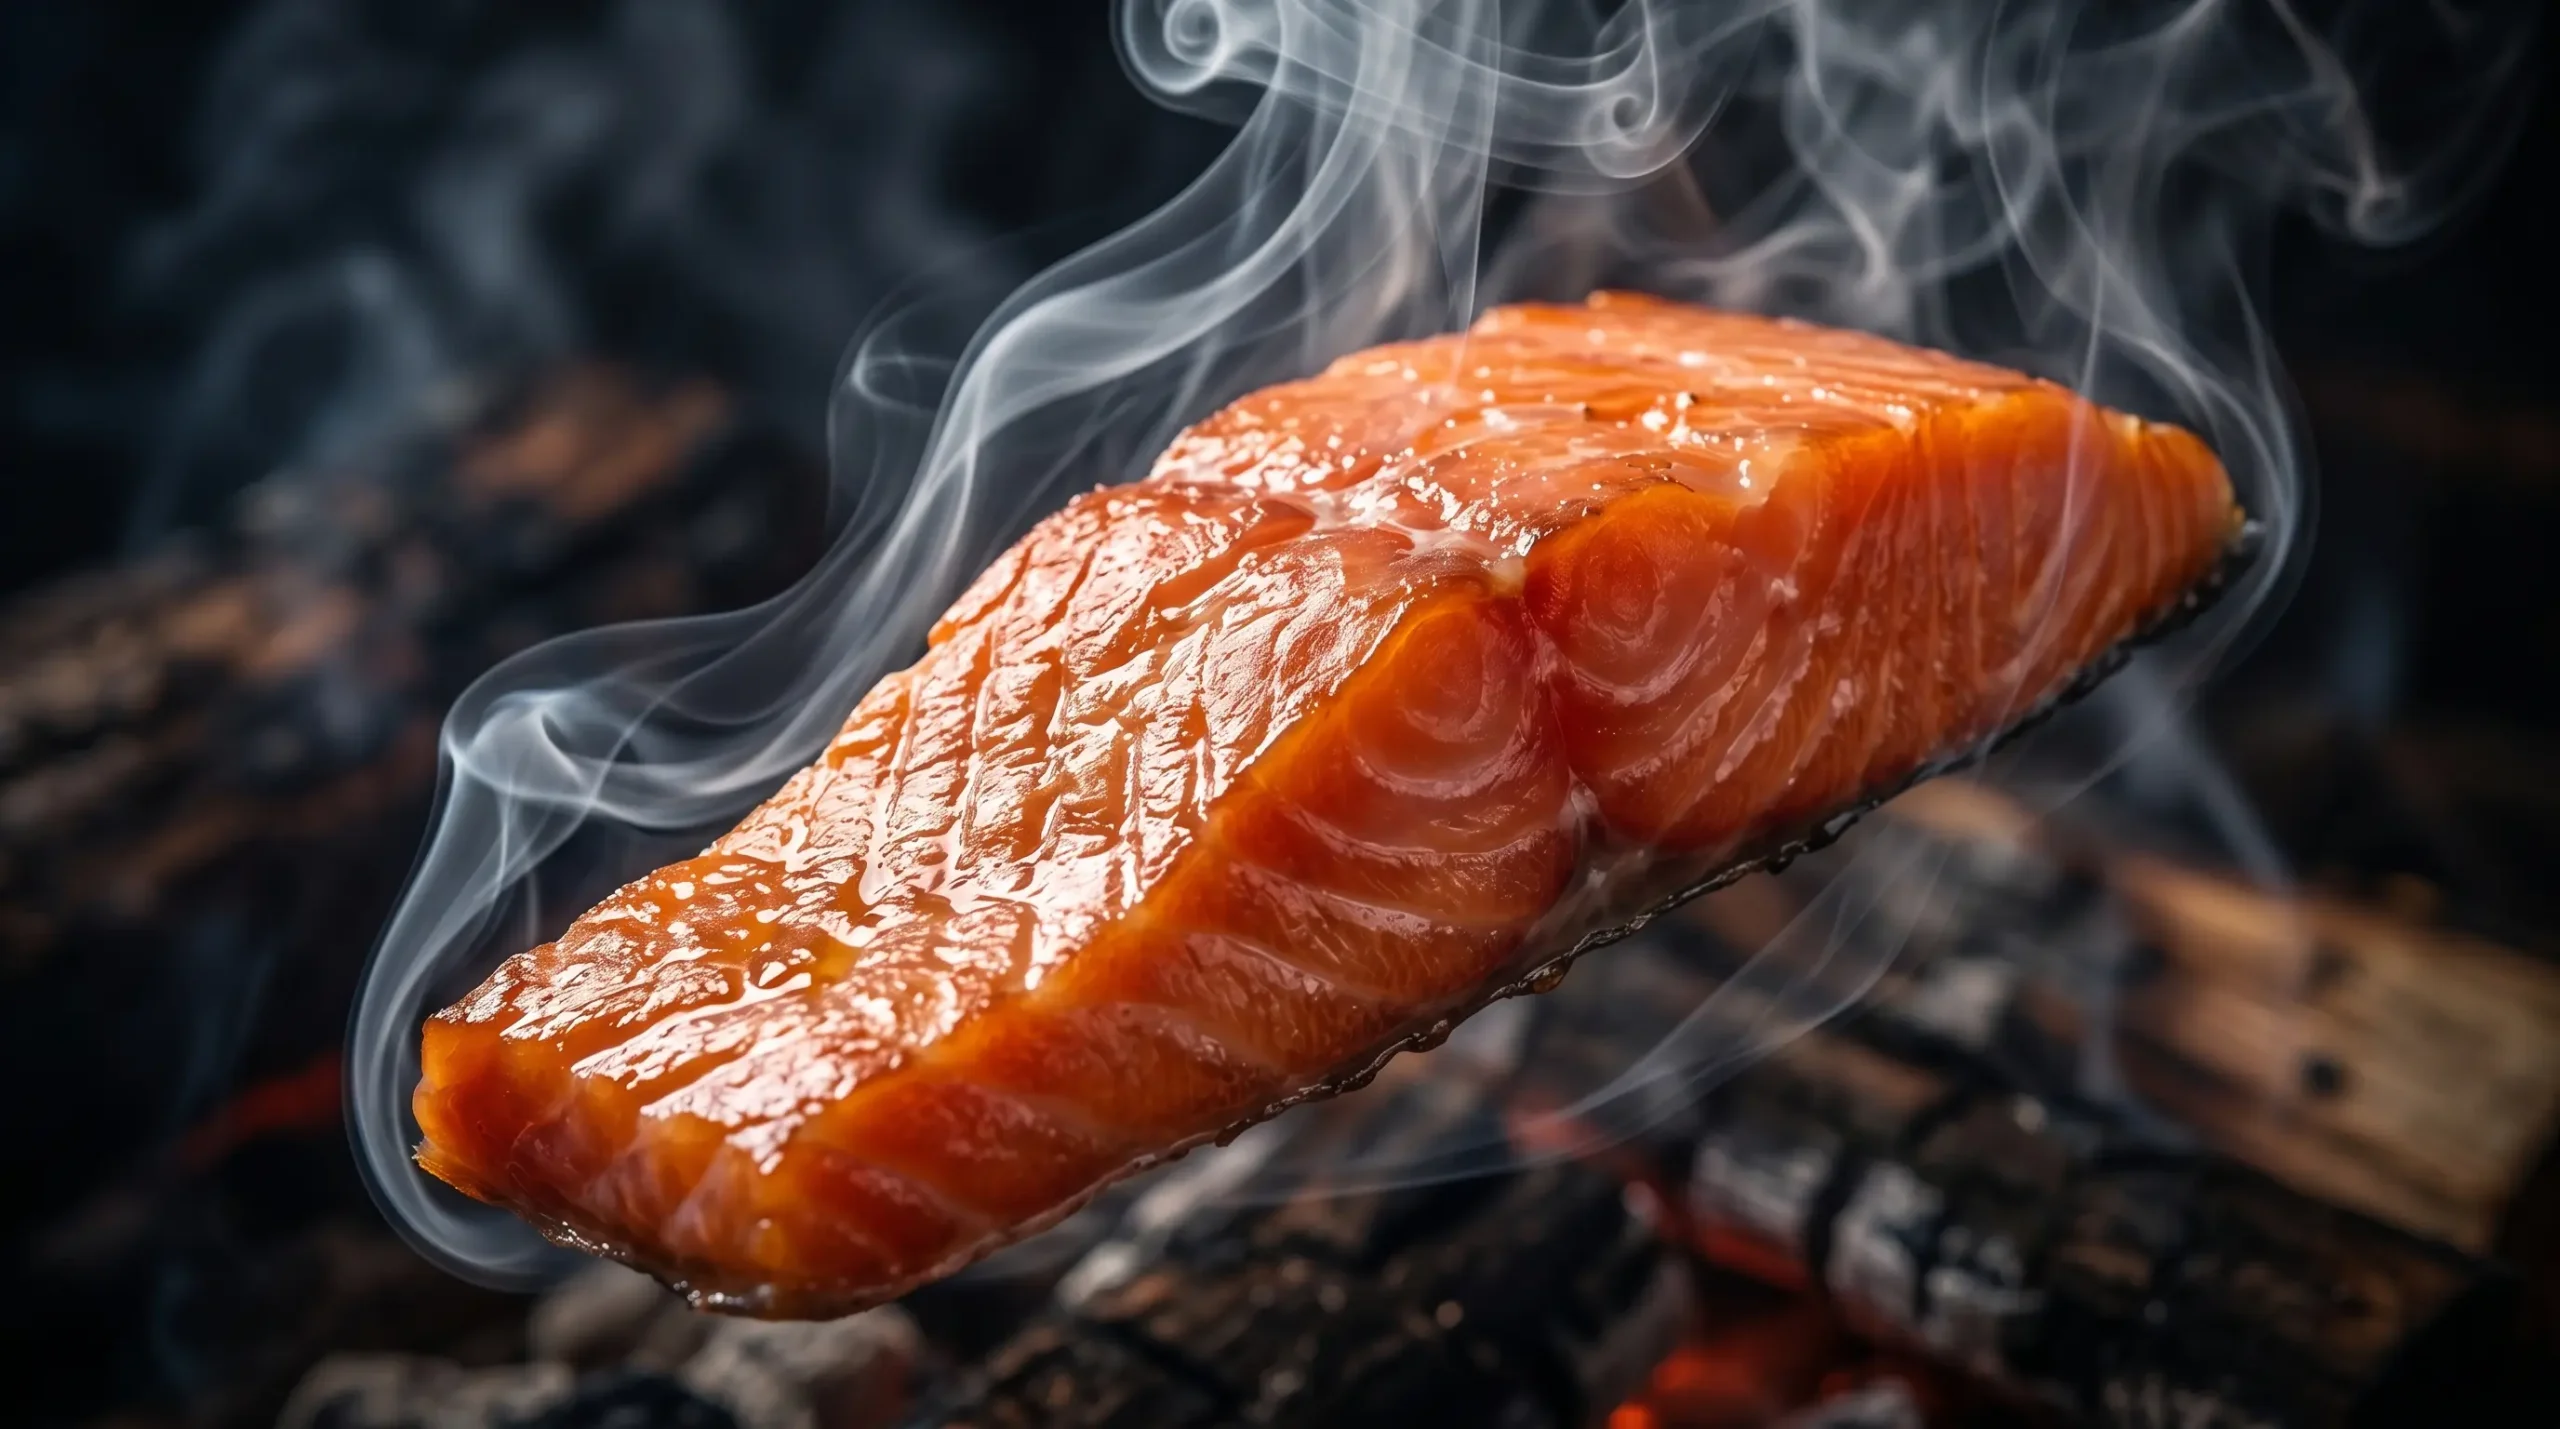
How to Make Smoked Salmon at Home: Complete Beginner’s Guide
how to make smoked salmon
There is a distinct magic that happens when you slice into a side of salmon you cured and smoked yourself. It’s a craft that feels beautifully old-school, yet entirely achievable in a modern backyard. If you’ve ever hesitated at the grocery counter, staring at those tiny, expensive plastic packages of lox or hot-smoked fillets and wondering if you could recreate that rich, buttery flavor at home—the answer is a resounding yes.
Making your own smoked salmon isn’t just about saving money; it’s about the quiet pride of turning a raw piece of fish into a culinary masterpiece using nothing but salt, sugar, smoke, and patience. When you master this process, you gain complete control over your food: no mysterious chemical preservatives, no excessive sodium levels, and no stale fish that has been sitting under fluorescent supermarket lights for days. Instead, you get a tender, flakey, deeply aromatic delicacy that will ruin store-bought alternatives for you forever. Let’s walk through it together, step by step.
Table of Contents
1. Introduction: Demystifying the Smoke House
For many home cooks, the idea of smoking seafood feels intimidating. Fish is delicate, expensive, and notoriously easy to ruin if subjected to harsh, uncontrolled heat. But once you break down the underlying science of the process, you realize it isn’t a dark art reserved for master pitmasters. It is a logical sequence of moisture management, temperature control, and flavor infusion.
1.1 The Ultimate Reward of Homemade Smoked Salmon
Stepping into the world of home food preservation transforms how you view raw ingredients. When you learn how to make smoked salmon, you are taking a premium protein and elevating it to its absolute peak form.
Consider the practical advantages:
- Financial Freedom: Buying pre-packaged smoked salmon at a deli or grocery store frequently costs anywhere from $25 to $40 per pound. Processing a whole side of salmon at home slashes that cost significantly, allowing you to feed a crowd or stock your freezer for a fraction of the retail price.
- Total Quality Control: Commercially processed fish often relies on liquid smoke injections, heavy artificial preservatives, and massive blasts of sodium to extend shelf life. At home, you decide exactly what goes into your body. You can adjust the sweetness, introduce unique wood profiles, and ensure the fish is completely natural.
- Textural Perfection: Factory-produced hot-smoked salmon is frequently dry and chalky because it is blasted with high heat to maximize production speed. By slowing down the timeline in your backyard, you preserve the natural fats, yielding a succulent, melt-in-your-mouth texture.
1.2 Hot Smoking vs. Cold Smoking: What’s the Difference?
Before firing up any equipment, you must understand the two primary branches of the smoking world. They produce completely different culinary results and require distinct operational setups.
Cold Smoking
This method is carried out at exceptionally low temperatures, typically keeping the cooking chamber well below 90°F (32°C), and ideally under 80°F (27°C). During cold smoking, the fish is never actually cooked by heat. Instead, it undergoes an intensive chemical cure before being exposed to unheated smoke over an extended period (frequently 12 to 24 hours).
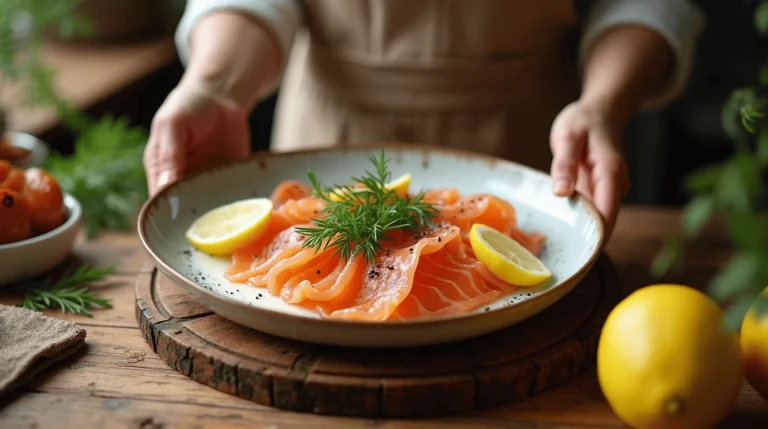
This yields the classic, silky, translucent, and easily bendable ribbons of fish you see served on New York-style bagels with cream cheese and capers. While delicious, cold smoking demands highly specialized equipment (like a smoke generator separate from the food chamber) and rigid sanitation protocols to mitigate the risk of foodborne illnesses like botulism.
Hot Smoking
This technique cooks the fish all the way through while simultaneously bathing it in wood smoke. The cooking environment stays stabilized between 200°F and 225°F (93°C–107°C). Hot smoking requires significantly less time—usually taking between 1.5 to 3 hours—and results in an opaque, firm, yet incredibly juicy fillet that breaks away in luxurious flakes.
Why This Guide Focuses on Hot Smoking
This beginner’s blueprint focuses strictly on hot smoking. Why? Because it is incredibly forgiving, highly accessible, and completely safe for standard backyard cooking setups. You do not need commercial-grade cooling systems or specialized smoke injectors. Whether you own a pellet grill, a charcoal kettle, or a simple electric cabinet smoker, you can safely create world-class hot-smoked salmon on your very first try.
2. Choosing Your Salmon: The Foundation of Flavor
The final quality of your smoked fish depends heavily on the raw specimen you purchase. Smoke and salt can enhance flavor, but they cannot fix a structurally poor, lean, or un-fresh piece of seafood. Understanding what to look for at the fish market is your first critical test.
                  ┌──────────────────────────────┐
                  │   SALMON SELECTION MATRIX    │
                  └──────────────┬───────────────┘
                                 │
         ┌───────────────────────┴───────────────────────┐
         ▼                                               ▼
┌─────────────────────────────────┐             ┌─────────────────────────────────┐
│     FATTY SPECIES (Beginner)    │             │      LEAN SPECIES (Advanced)    │
│  • Atlantic or King (Chinook)   │             │  • Sockeye or Coho              │
│  • Rich, buttery, forgiving     │             │  • Intense flavor, vibrant red  │
│  • High oil absorbs smoke well  │             │  • Easy to overcook; dries fast │
└─────────────────────────────────┘             └─────────────────────────────────┘
2.1 Selecting the Best Salmon Species
When browsing the seafood display, you will generally run into a few dominant options, each possessing unique fat structures and flavor profiles.
King (Chinook) Salmon
Widely considered the holy grail of wild salmon, King salmon boast the highest natural oil content of any wild species. This high fat density acts as an insurance policy during the smoking process. It keeps the flesh incredibly moist, carries flavors deeply into the muscle fibers, and absorbs smoke beautifully without drying out. If your budget allows, this is a spectacular option.
Atlantic Salmon
Almost exclusively farm-raised, Atlantic salmon is the most readily available and cost-effective choice for beginners. Because farm-raised fish are fed a controlled, high-fat diet, Atlantic salmon is heavily marbled with intramuscular oils. This makes it incredibly forgiving to smoke. It stays remarkably juicy even if your smoker’s temperature accidentally spikes a bit too high.
Sockeye and Coho Salmon
These wild-caught species are famed for their intense, deep red coloration and robust, distinctly “fishy” flavor profiles. However, they are significantly leaner than King or Atlantic varieties. Because they lack heavy fat reserves, Sockeye and Coho can transform from perfectly cooked to uncomfortably dry in a matter of minutes. Save these species for when you have a few successful cooks under your belt.
2.2 Fresh vs. Frozen: What Science Says
There is a pervasive myth in the culinary world that fresh, never-frozen fish is always superior. When it comes to smoking, food science actually points in the opposite direction.
High-quality, flash-frozen salmon (often labeled as “frozen at sea”) is structurally phenomenal for smoking. Commercial flash-freezing creates microscopic ice crystals that gently disrupt the cellular walls of the fish muscle. When you thaw and brine this fish, the loosened cell structures actually absorb the salt-and-sugar cure more efficiently and deeply than perfectly intact, fresh muscle fibers.
Furthermore, freezing acts as an absolute safety barrier. It destroys any microscopic parasites that might be present in wild-caught fish. For peace of mind and excellent brine penetration, do not hesitate to buy high-quality frozen sides of salmon. Just ensure you thaw them slowly in the refrigerator over a 24-hour period before starting your prep.
3. The Essential Ingredients and Tools
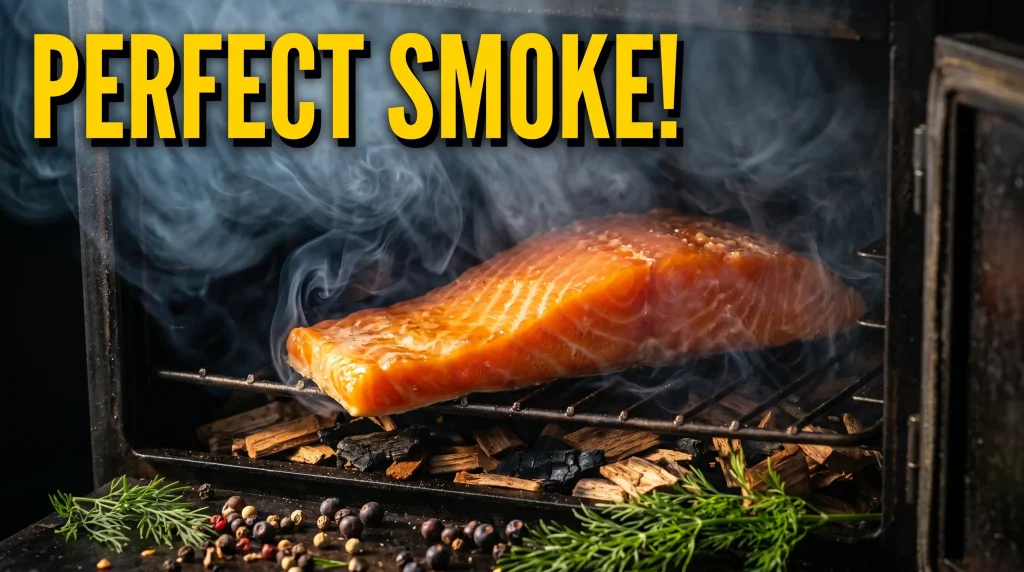
You do not need an arsenal of commercial kitchen gadgets to pull this off, but you do need absolute precision. Investing in a few foundational tools will shift your results from guesswork to professional consistency.
3.1 Equipment Checklist
Before you head to the kitchen, ensure you have organized the following components:
- The Cooker: You can use virtually any outdoor apparatus capable of maintaining a stable low-temperature zone. Dedicated pellet smokers, electric cabinets, propane smokers, or standard charcoal kettle grills utilizing the two-zone indirect method work perfectly.
- The Wood: Salmon has delicate flesh that easily turns bitter if exposed to heavy, acrid smoke. Stick to mild, sweet fruitwoods. Alder is the traditional Pacific Northwest standard for seafood. Excellent alternatives include apple, cherry, maple, or pecan. Steer clear of aggressive woods like hickory or mesquite, which will choke out the natural flavor of the salmon.
- The Thermometer: This is your most vital tool. A high-quality, dual-probe digital meat thermometer is non-negotiable. One probe will monitor the exact temperature of your smoker’s air right next to the fish, while the second probe stays embedded in the thickest part of the salmon fillet to track its internal progress.
3.2 The Master Dry Brine Recipe
The dry brine is where the chemical magic happens. It isn’t just about adding flavor; it actively alters the cellular structure of the fish. The salt draws out excess water, concentrating the remaining proteins and firming up the flesh so it doesn’t fall apart on the smoker grates. Meanwhile, the sugar acts as a humectant, locking in just enough internal moisture to keep the final product juicy.
Use this balanced master ratio for a standard 2-to-3-pound side of salmon:
| Ingredient | Measurement | Purpose |
| Coarse Kosher Salt | 1 Cup | Draws out structural moisture, preserves the flesh, and seasons deeply. |
| Dark Brown Sugar | 1 Cup | Counters the harshness of the salt, adds deep molasses notes, and seals in moisture. |
| Black Peppercorns | 1 Tbsp (Coarsely Crushed) | Provides a subtle, earthy back-of-the-throat warmth to cut through the fat. |
| Optional Aromatics | Zest of 1 lemon or 2 tbsp dried dill | Introduces bright, aromatic high notes to elevate the overall flavor profile. |
Note on Salt Choice: Always use coarse Kosher salt or pure sea salt. Avoid standard iodized table salt at all costs—its fine grain size makes it incredibly easy to over-salt the fish, and the added iodine can impart a metallic, chemical aftertaste to your finished salmon.
4. Step-by-Step Walkthrough: How to Make Smoked Salmon
Now that your workstation is organized, let’s go through the exact physical steps required to transform your raw fillet into gold. Do not rush any part of this timeline; patience is your primary ingredient.
4.1 Step 1: Preparing and Brining the Fish
Your first job is to ensure the fillet is structurally ready for the cure.
- Run a Finger Cleanly Down the Center of the Fillet: Feel for any tiny, stiff pin bones poking up through the flesh. If you locate any, use a pair of clean fish tweezers or clean needle-nose pliers to pull them out smoothly in the direction they are pointing.
- Leave the Skin Intact: Never remove the skin before smoking. The skin acts as a natural structural shield, protecting the delicate flesh from the direct heat of the smoker grates and holding the fillet together so it doesn’t break apart when lifted.
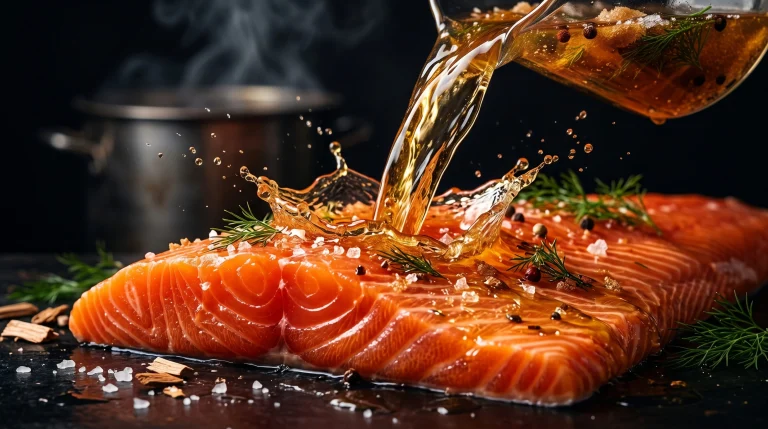
- Apply the Dry Brine: In a bowl, thoroughly mix your kosher salt, dark brown sugar, and crushed pepper. Lay a large sheet of plastic wrap inside a rimmed baking sheet. Sprinkle a thin layer of the brine mixture directly onto the plastic wrap, then lay your salmon fillet skin-side down on top of it.
- Pack the Remaining Brine Over the Top: Cover the exposed flesh side of the salmon with an even, thick blanket of the salt-and-sugar mixture. It should look completely coated, like it’s buried under wet sand.
- Seal and Wrap: Wrap the plastic wrap tightly around the fish. Place the baking sheet into the refrigerator. Let the salmon cure for 4 to 8 hours. If you have a thin wild fillet, 4 hours is plenty. For a thick, heavy side of Atlantic salmon, aim closer to 8 hours. As it sits, you will notice the dry mixture liquefy into a thick, dark syrup—this means the salt is successfully drawing out internal moisture.
       [4-8 Hour Dry Brine]              [2-4 Hour Cold Air Dry]             [1.5-3 Hour Smoke Session]
┌─────────────────────────────────┐   ┌─────────────────────────────────┐   ┌─────────────────────────────────┐
│ Salt & sugar extract moisture,  │──>│ Surface air-dries completely to │──>│ Gentle wood smoke infuses at    │
│ firming up the protein strands  │   │ form a sticky, shiny pellicle.  │   │ 200°F until internal hits 140°F.│
└─────────────────────────────────┘   └─────────────────────────────────┘   └─────────────────────────────────┘
4.2 Step 2: The Rinse and The Pellicle Formation
This is the phase most beginners skip, and it is precisely why their first attempts often fall short. Pay close attention to this transition.
- Unwrap the Salmon: Carefully pour off the dark liquid syrup that has accumulated in the plastic wrap.
- Rinse Thoroughly: Take the salmon to your sink and rinse it under cold, gently running water. Your goal is to wash away all remaining visible grains of salt and sugar from the surface. Do not worry—the fish has already absorbed all the seasoning it needs internally.
- Blot and Dry: Place the rinsed fillet on clean paper towels and gently blot the surface until it is completely dry to the touch.
- The Pellicle Stage: Set a wire cooling rack inside a clean, dry baking sheet. Lightly coat the rack with non-stick cooking spray, then place your salmon fillet skin-side down onto the rack. Put the entire uncovered assembly back into the refrigerator for 2 to 4 hours. If you want to speed up this step, you can position a small, clean desk fan to blow air directly across the fish in a cool room.
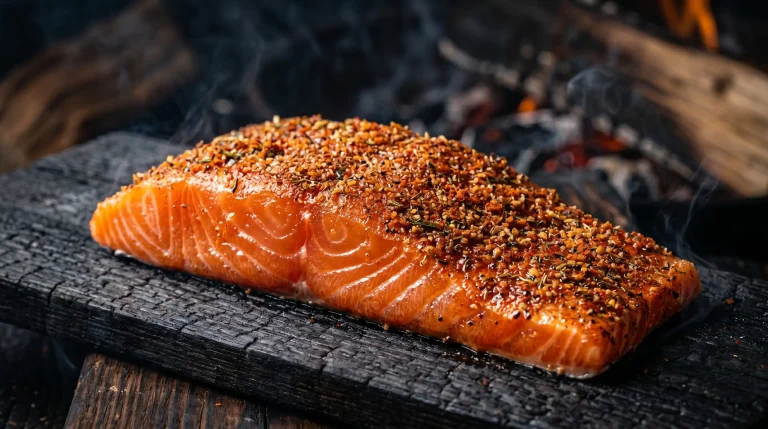
Crucial Concept: As the cold air circulates over the exposed fish, the surface proteins dry out and cross-link, forming a shiny, slightly tacky, skin-like layer called a pellicle. This pellicle is mandatory for successful smoking. Smoke molecules cannot efficiently bind to wet, slick meat; they need a sticky surface to latch onto. The pellicle acts like an organic adhesive for smoke, ensuring a beautiful, deep mahogany color while sealing internal juices so they don’t leak out during cooking.
4.3 Step 3: Firing Up the Smoker
While your salmon finishes its air-drying phase in the fridge, it’s time to prep your outdoor kitchen environment.
- Clean Your Grates: Ensure your cooking grates are completely clear of old char and debris. Give them a light wipe with a paper towel dipped in neutral cooking oil to prevent sticking.
- Ignite and Stabilize: Light your smoker and dial the temperature in between 200°F and 225°F (93°C–107°C). Keeping the temperature low prevents the fish from cooking too quickly and breaking down structurally.
- Manage the Smoke Quality: Introduce your chosen fruitwood (alder or apple). You want to see clean, thin, almost invisible blue wisps of smoke venting from your cooker. If your smoker is putting out thick, billowing, puffy white clouds of smoke, the airflow is restricted, which will leave a bitter, acrid soot flavor on your delicate seafood. Let the fire burn until the smoke runs clean and blue.
4.4 Step 4: The Smoke Session
With the smoker stabilized and the salmon’s surface tacky to the touch, you are ready to begin the final transformation.
- Insert the Probe: Push your digital meat thermometer probe horizontally into the absolute thickest section of the salmon fillet. Make sure the tip isn’t touching the bottom skin or hitting any residual bones, as this will distort your reading.
- Load the Cooker: Lay the salmon fillet skin-side down directly onto the center of the smoker grates. Close the lid immediately to trap the delicate wood vapors.
- Monitor the Curve: Let the salmon smoke undisturbed. Keep a close eye on your internal temperature tracker. Depending on weather conditions and fillet thickness, the cook will generally take anywhere from 1.5 to 3 hours.
[Target Internal Temp: 140°F (60°C)]
  ├── 110°F - Albumen (white protein) may begin to push out if heated too fast.
  └── 135°F - Prepare to pull the fish; carryover cooking will take it to 140°F.
As the internal temperature crosses 110°F (43°C), keep a watchful eye out for any white, milky liquid bubbling out of the fish. If you see this happening excessively, your smoker is running too hot; damp down your vents or adjust your controller downward immediately.
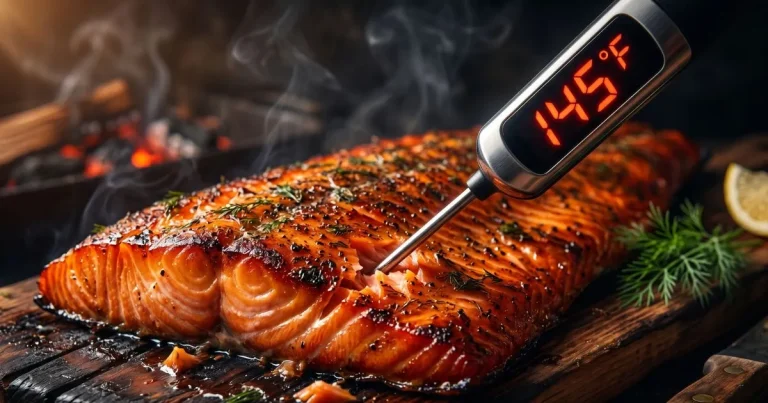
When your digital probe registers 135°F to 138°F (57°C–59°C), open the cooker. Use two wide spatulas to gently lift the salmon off the grates and transfer it onto a clean sheet tray. Residual carryover heat inside the fish will naturally push the final internal temperature up to the gold standard of 140°F (60°C) while it rests.
5. Storage and Serving Suggestions
The hard work is done, but how you treat your smoked salmon immediately after it leaves the heat will dictate its final texture and shelf life.
5.1 Cooling and Setting
Resist the powerful urge to dig into the hot salmon the second it comes off the smoker. If you slice into it immediately, the hot, liquified fats and juices will rapidly run out onto your cutting board, leaving the remaining meat dry and crumbly.
Instead, leave the salmon exposed on your countertop for roughly 30 minutes to cool down gently. As the temperature drops, the internal oils solidify back into the muscle fibers, locking in succulence. Once it reaches room temperature, wrap it loosely in butcher paper or plastic wrap and transfer it to the refrigerator for at least two hours before eating. Smoked salmon is always best enjoyed chilled or at a cool room temperature, allowing the smoke profile to fully open up.
5.2 Preservation Lifespans
Because homemade hot-smoked salmon does not contain chemical nitrates or heavy artificial stabilizers, its shelf life is shorter than factory products. Use these guidelines to keep your food safe and fresh:
- Standard Refrigeration: Store your smoked salmon in an airtight container or a glass dish tightly wrapped with plastic film. It will remain fresh and safe to consume for 7 to 10 days.
- Long-Term Freezing: If you processed a large batch that you cannot finish within a week, divide the fish into individual portions. Wrap each portion tightly in plastic wrap, then seal them inside high-quality vacuum-seal bags. Frozen this way, your smoked salmon will maintain perfect flavor and texture for up to 3 months. To thaw, simply transfer a package to the refrigerator 24 hours before you plan to serve it.
6. Frequently Asked Questions (FAQ)
How long does it take to learn how to make smoked salmon at home?
The actual hands-on preparation takes less than an hour, while the curing and drying process takes roughly 8 to 12 hours of passive time. The smoking step itself generally takes between 1.5 to 3 hours, depending on the thickness of your fish and your smoker’s exact temperature.
What is the white stuff oozing out of my salmon?
That white substance is called albumen. It is a completely safe, harmless protein that pushes out of the muscle fibers when the salmon cooks too quickly or reaches too high a temperature. To prevent this, keep your smoker temperature low (around 200°F) and slowly bring the fish up to its target internal temperature.
Can I make smoked salmon without a traditional smoker?
Yes! You can easily adapt a standard charcoal kettle grill for hot smoking. Simply set up your charcoal on one side of the grill (indirect heating) and place your salmon on the opposite side. Add a handful of wood chips directly onto the lit coals and close the lid, keeping the air vents partially closed to manage a low temperature.
7. Conclusion: The Master of the Backyard Smokehouse
Smoking salmon at home strips away the mystery of a gourmet delicacy and replaces it with a repeatable, deeply satisfying culinary skill. By understanding the core mechanics—the moisture-drawing power of a proper brine, the necessity of the sticky pellicle, and the gentle kiss of low-temperature fruitwood smoke—you can confidently skip the seafood counter wrappers entirely.
The process requires time, but very little of it is active labor. It’s an exercise in slowing down, monitoring variables, and honoring a beautiful ingredient. Fire up your cooker, embrace the patience the craft requires, and enjoy the best bite of fish you’ve ever had.
Join the Backyard Smokehouse Club!
Now it’s your turn to take the reins. Are you planning your very first cure this coming weekend, or do you have a secret twist on a dry brine recipe that you love? Leave a comment down below to share your experiences, ask questions, or show off your latest backyard masterpiece. Don’t forget to bookmark this guide and share it with your fellow outdoor cooking enthusiasts!
Did You Try Our Recipe?
There are no reviews yet. Be the first one to write one.