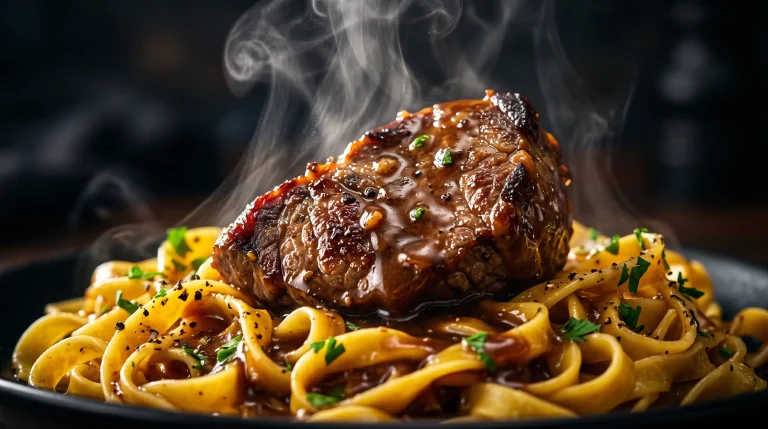
Beef and Noodles: 7 Steps to the Best Comfort Food
Beef and Noodles
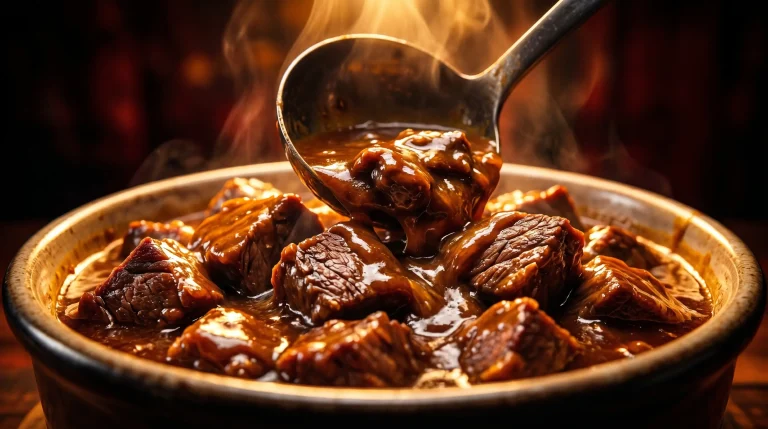
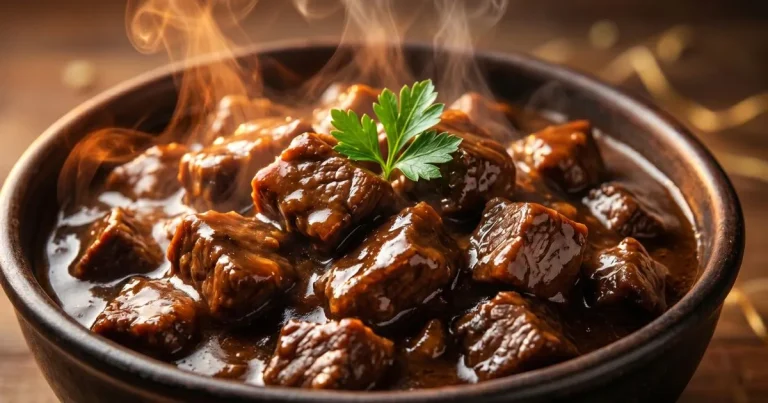
Think back to those rainy Sunday afternoons when the world felt a little too fast, a little too loud, and entirely too demanding. The moment you stepped through the door, you were wrapped in a heavy, savory blanket of aroma—beef simmering slowly on the stovetop, mingling with earthy herbs and rich broth. It is a scent that instantly signals safety, warmth, and home.
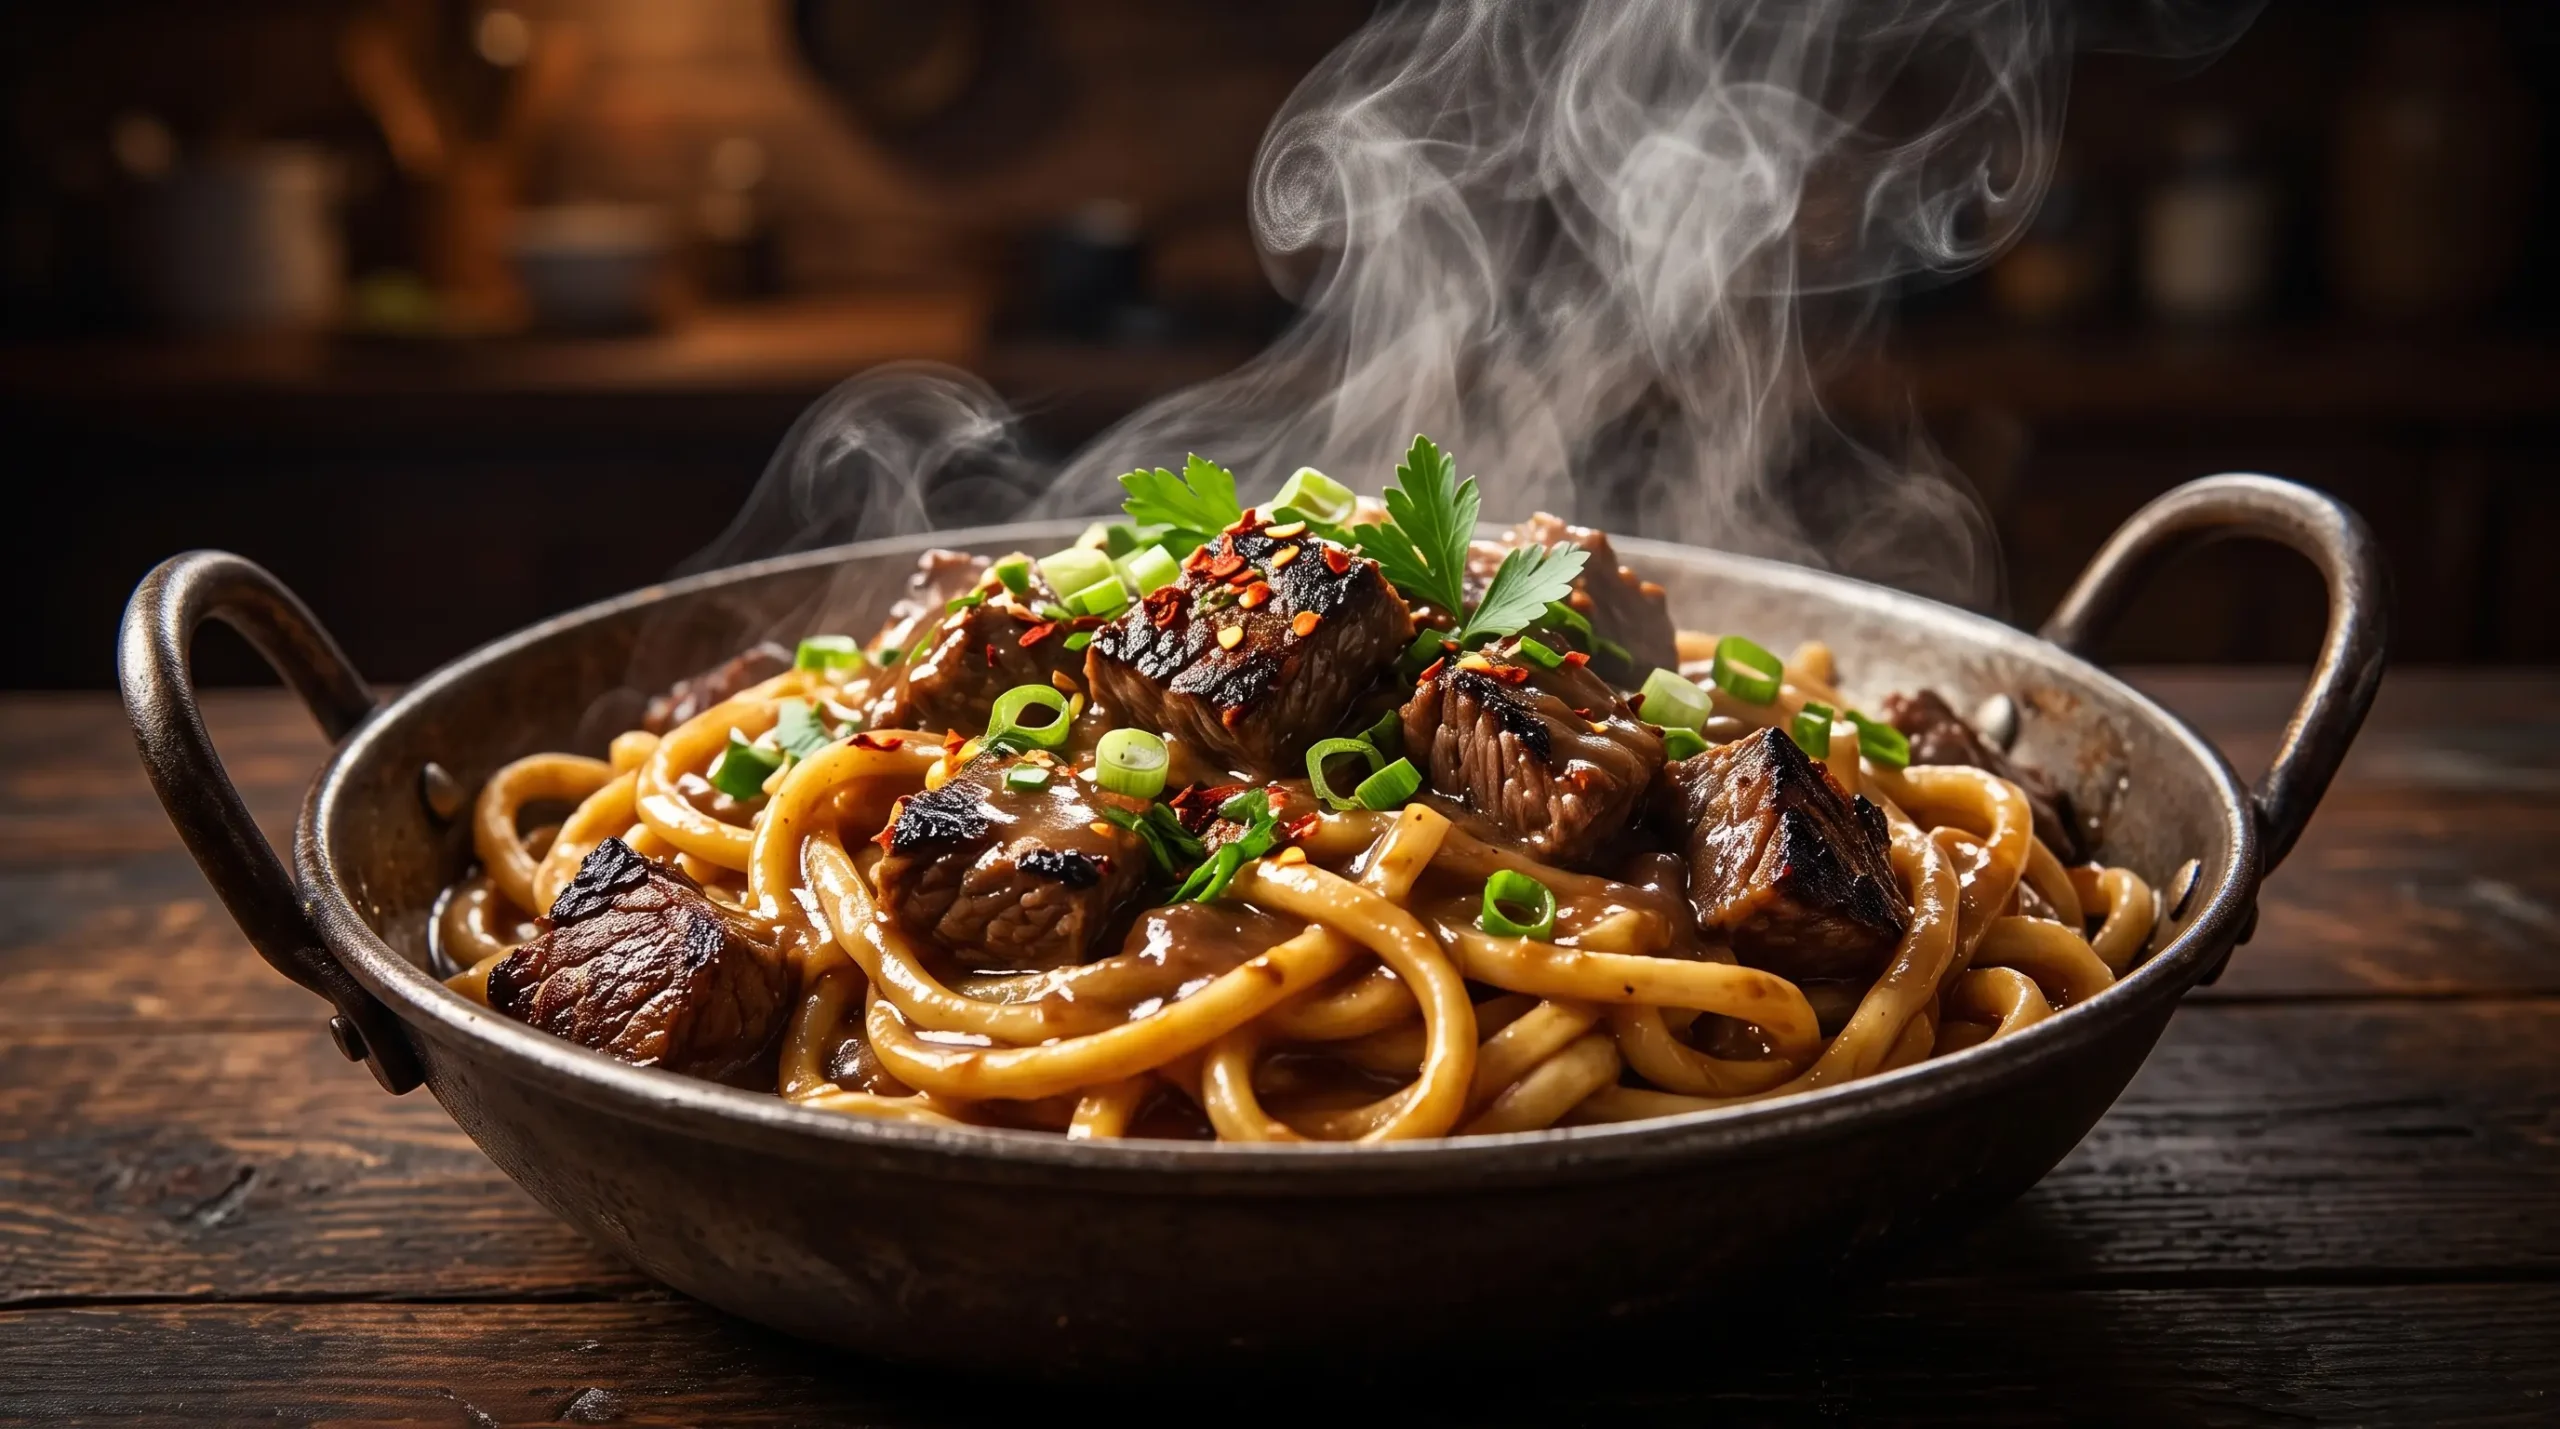
In our modern, fast-paced lives, it is easy to rely on boxed shortcuts, processed canned soups, and sodium-heavy flavor packets to get dinner on the table. But speed often robs us of the very soul of cooking. A steaming bowl of tender beef and thick, pillowy egg noodles is more than just fuel for your body; it is a culinary hug for your soul.
When life gets overwhelming, turning to honest, scratch-made cooking can ground you. Today, we are stripping away the artificial additives and diving deep into the time-honored magic of a scratch-made classic. Grab your favorite heavy pot, tie on your apron, and let’s walk through how to build the deepest, most comforting flavor profile you have ever tasted.
Table of Contents
I. Why True Comfort Food Takes Time
We live in an era of instant gratification, but great braises refuse to be rushed. To understand why this beef and noodles recipe tastes so profoundly satisfying, we have to look at the culinary science happening inside your pot. It isn’t just luck; it’s chemistry.
The Science of Umami and Collagen Transformation
When you take a tough, heavily exercised cut of beef and subject it to gentle, low-and-slow heat, a spectacular transformation occurs. These cuts are packed with connective tissue made of a protein called collagen. If you cook a chuck roast quickly over high heat, like a steak, it becomes tough, rubbery, and practically unchewable.
However, when you simmer it at a low temperature (160° F to 180° F ) over several hours, that tough collagen slowly melts down into gelatin. This gelatin does two things:
- It coats the individual meat fibers, making the beef taste incredibly succulent and melt-in-your-mouth tender.
- It releases into the surrounding cooking liquid, giving your broth a natural, velvety body and richness without requiring a drop of heavy cream.
This process unlocks deep levels of umami—the fifth basic taste, often described as savory or meaty. Combined with the natural glutamates found in onions and carrots, this slow breakdown creates a complex flavor profile that instant cooking methods simply cannot replicate.
Nutritional Value: A Balanced, Fueling Meal
While this dish feels like an indulgence, it provides high-quality nutrition that fuels your body during cold months or long weeks. According to data from the United States Department of Agriculture (USDA), a single serving of braised beef chuck roast serves as an excellent source of:
- High-Density Protein: Critical for muscle repair, metabolic health, and long-lasting satiety.
- Bioavailable Iron: Essential for maintaining energy levels and oxygen transport throughout your body.
- Zinc and B Vitamins: Specifically Vitamin B12, which supports neurological function and immune health.
When you pair this nutrient-dense protein with the easily digestible carbohydrates of egg noodles and the vitamin-rich minerals extracted from a long-simmered vegetable base, you get a balanced, restoring meal.
The Ultimate Cut: Why Chuck Roast Wins
If you have ever walked down the meat aisle confused by the choices, remember one rule for this dish: fat and connective tissue equal flavor.
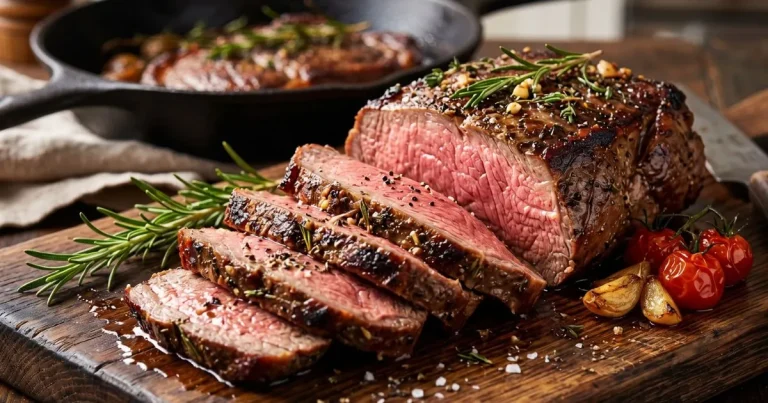
Lean cuts like sirloin, round steak, or stew meat pieces labeled generically as “beef for stew” often dry out during long braises because they lack sufficient intramuscular fat (marbling). Chuck roast, sourced from the shoulder of the animal, is the undisputed king of the braising pot. Beef shanks or bone-in short ribs are also phenomenal choices, as the bones yield even more gelatin and marrow, though chuck roast remains the most accessible and budget-friendly option for a family dinner.
II. Essential Ingredients for the Perfect Batch
Great cooking relies on a short list of high-quality, whole ingredients working together in perfect harmony. Because this recipe doesn’t hide behind artificial flavor enhancers, the purity of your ingredients matters.
Quality Over Quantity
To build a truly unforgettable dish, skip the pre-diced veggies and watery broths. Focus on fresh, whole components. Taking an extra five minutes to chop a whole onion or source a rich bone broth makes a massive difference in the clarity and depth of your final gravy.
The Component Breakdown
- The Meat: Look for a 2.5-pound boneless beef chuck roast with thick ribbons of white fat running through it. Avoid roasts that look completely lean or pale.
- The Liquid Gold: Your cooking liquid is the foundation of your sauce. Opt for a low-sodium beef bone broth. Bone broth is simmered longer than standard stock, meaning it contains higher amounts of natural gelatin and a deeper savory flavor.
- The Noodles: Thick, wide egg noodles are mandatory here. Regular pasta shapes like penne or spaghetti lack the porous texture and thickness needed to grip a heavy beef gravy. Look for Amish-style dried egg noodles, or if you feel adventurous, whip up a batch of fresh, homemade egg noodles.
Master Ingredients Table
Use this precise guide to gather your ingredients before you light the stove. Having everything prepped (mise en place) guarantees a stress-free cooking experience.
| Ingredient Category | Component | Quantity | Purpose in Flavor Profile |
| The Protein | Beef Chuck Roast (cubed into 1.5-inch pieces) | 2.5 lbs | Provides rich, tender beef flavor and natural gelatin for the sauce. |
| The Vegetable Base | Yellow Onion (diced) Carrots (sliced into coins) Celery (diced) | 1 large cup 1 cup 1 cup | The classic french mirepoix that forms an aromatic, sweet, and savory foundation. |
| The Aromatics | Fresh Garlic (minced) Fresh Thyme Sprigs Dried Bay Leaves | 4 cloves 4-5 sprigs 2 leaves | Infuses the broth with earthy, woodsy, and bright herbaceous undertones. |
| The Deglazing Liquid | Dry Red Wine (Cabernet or Merlot) Low-Sodium Beef Bone Broth | 0.5 cup 4 cups | Red wine cuts through the richness with acidity; bone broth forms the bulk of the gravy. |
| The Comfort Carbs | Wide, Thick Egg Noodles | 12 oz | Acts as the heavy, comforting vehicle that absorbs the savory gravy. |
| The Thickener | Unsalted Butter All-Purpose Flour | 2 tbsp 2 tbsp | Combines to form a roux that ensures a smooth, glossy, lump-free sauce. |
III. The 7 Steps to the Best Beef and Noodles
Now that your ingredients are prepped, it is time to build the dish. Follow these steps precisely to avoid the common pitfalls of tough meat, bland broth, or mushy noodles.

1.The Perfect Sear:Step 1: 10 mins.
Pat your cubed beef chuck roast completely dry with paper towels. Wet meat steam-cooks instead of searing. Season all sides generously with coarse kosher salt and cracked black pepper. Heat a tablespoon of oil in a heavy Dutch oven over medium-high heat. Add the beef in a single layer. Do not crowd the pan. Work in batches if necessary. Let the beef sit undisturbed for 2-3 minutes per side until a deep, dark brown crust forms. This crust is the Maillard reaction, which creates dozens of complex flavor compounds you cannot get from boiling alone. Remove the beef and set it aside on a plate.
2.Build the Aromatic Base:Step 2: 5 mins.
Turn the heat down to medium. Drop your diced onion, carrots, and celery straight into the remaining beef fat left in the pot. Cook for roughly 5 minutes, stirring occasionally, until the onions turn translucent and the carrots begin to soften. As the vegetables release their natural moisture, use your wooden spoon to gently nudge up the darkened bits of beef stuck to the bottom of the pan—chefs call this the fond. Add your minced garlic during the last 60 seconds of cooking, stirring constantly so it softens without burning.
3.Deglaze the Pot:Step 3: 2 mins.
Pour in your dry red wine (or half a cup of beef broth if you prefer to cook without alcohol). The liquid will instantly boil and hiss. Use your spoon to aggressively scrape up any remaining fond from the bottom of the pot. Let the liquid bubble rapidly for 2 minutes until the sharp smell of alcohol cooks off and the liquid reduces by roughly half. This step concentrates the sugars and acids, giving your gravy a professional depth of flavor.
4.The Slow Simmer:Step 4: 2.5 hours.
Pour the seared beef and any resting juices back into the Dutch oven. Pour in your four cups of rich beef bone broth—the meat should be mostly submerged but not drowning. Nestled the fresh thyme sprigs and bay leaves deep into the liquid. Bring the mixture to a gentle boil, then immediately drop the heat down to low. Cover the pot tightly with a lid. Let it simmer on your stovetop for 2 to 2.5 hours. Alternatively, pop the covered pot into an oven preheated to 325° F . You know it is ready when a fork easily slides into a piece of beef with zero resistance.
5.Shred and Separate:Step 5: 10 mins.
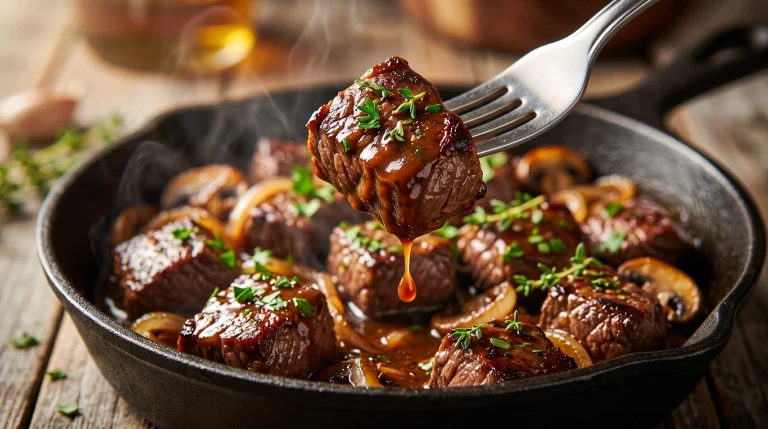
Using a slotted spoon, lift the tender beef out of the simmering broth and place it on a clean cutting board or shallow bowl. Skim any excessive pools of oil off the surface of the hot broth using a wide spoon. Using two forks, gently pull the beef apart into bite-sized shards. Discard any large, unrendered pieces of gristle or fat. Do not shred the beef too finely; you want substantial, rustic chunks that feel satisfying to eat.
6.Thicken the Gravy:Step 6: 5 mins.
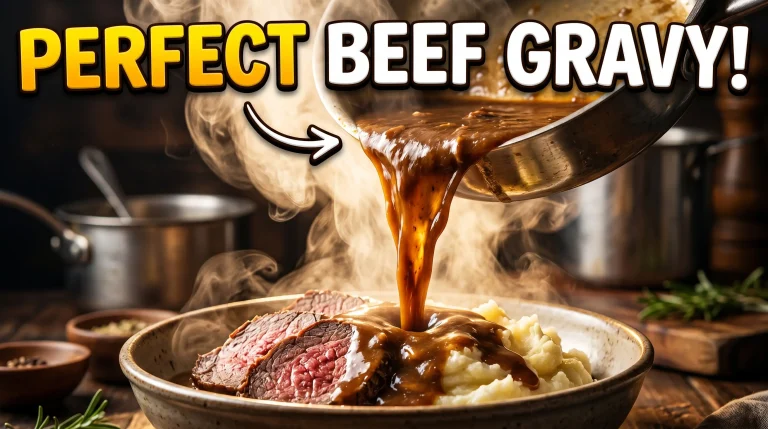
Keep the broth at a steady simmer over medium-low heat. In a small bowl, mash your softened butter and all-purpose flour together with a fork until it forms a smooth paste (this is called a beurre manié). Whisk this paste directly into your simmering broth. Let it cook for 3 to 5 minutes. As the flour cooks, the broth will transform from a thin liquid into a rich, velvety, glossy gravy that beautifully coats the back of a spoon.
7.The Noodle Drop:Step 7: 10 mins.
Stir your shredded beef back into the thickened gravy. Dump your wide egg noodles directly into the bubbling pot. Gently fold everything together to ensure the noodles are submerged. Cover the pot and let it cook for 8 to 10 minutes, stirring occasionally so the noodles don’t stick to the bottom. Once the noodles are plump, tender, and have soaked up that glorious savory gravy, kill the heat. Remove the bay leaves and thyme stems, let it cool for a minute, and prepare to serve.
IV. Pro Tips for Recipe Customization
Every kitchen is different, and you should be able to make this dish work around your busy schedule. Here is how to adapt this recipe to fit your lifestyle or maximize your flavor footprint.
The Slow Cooker / Crockpot Method
If you want to come home to a house that smells like heaven after a long day at work, your slow cooker is your best friend.
- Follow Steps 1 and 2 on your stovetop if you have time, as searing the meat and softening the vegetables provides the best flavor foundation.
- Transfer the beef, vegetables, deglazed liquid, broth, and herbs into your slow cooker.
- Cover and cook on LOW for 7 to 8 hours (or HIGH for 4 to 5 hours).
- An hour before serving, shred the beef, stir in your flour/butter thickener, add the raw egg noodles, and turn the cooker to HIGH until the noodles are tender.
The Instant Pot / Pressure Cooker Method
When you are short on time but craving that slow-simmered taste, a pressure cooker cuts your kitchen time drastically.
- Use the SAUTÉ function on your Instant Pot to sear the beef and soften your aromatic vegetables.
- Deglaze the inner pot thoroughly to avoid the dreaded “BURN” notice.
- Add the broth and herbs, lock the lid, and set to HIGH PRESSURE for 45 minutes.
- Allow a natural pressure release for 15 minutes to keep the meat juicy.
- Switch back to the SAUTÉ function, stir in your thickener, drop your noodles, and simmer uncovered for 8 minutes until the pasta softens.
Subtle Flavor Boosters
Want to elevate your dish from excellent to restaurant-quality? Try adding these secret ingredients during Step 4:
- Worcestershire Sauce: A single tablespoon adds an instant hit of fermented anchovy, molasses, and vinegar, which accentuates the beefiness of the broth.
- Tomato Paste: Stirring a tablespoon of tomato paste into your onions and cooking it until it turns a dark brick-red color adds incredible depth and a hint of background sweetness.
- A Splash of Soy Sauce: Sounds unusual for a western classic, but soy sauce is packed with pure, liquid umami that deepens the color and savoriness of your gravy.
Conclusion
At its core, a perfect bowl of homemade beef and noodles isn’t about expensive kitchen gadgets or complicated culinary degrees. It is a testament to what happens when you treat humble, simple ingredients with a bit of patience and care. By taking the time to build a deep sear on your beef, scraping up every ounce of flavor from the bottom of your pot, and letting the meat simmer until it willingly falls apart, you transform an affordable weeknight dinner into a true family masterpiece.
Now that you know the secrets behind extracting maximum flavor and achieving that perfectly thick, velvety gravy, it is time to put this guide into action. Gather your family around the table, ladle up big, steaming bowls of this soul-warming comfort food, and savor every single bite.
What is your favorite secret ingredient to add to comfort food? Have you tried making your own egg noodles from scratch? Let us know in the comments below, and don’t forget to share this recipe with someone who needs a warm culinary hug today!
Frequently Asked Questions
What is the best cut of meat for beef and noodles?
The undisputed best cut is a boneless beef chuck roast. Thanks to its rich marbling and high collagen content, it breaks down beautifully during a slow simmer, yielding incredibly tender meat and a naturally thick, velvety gravy. Leaner cuts like sirloin or round steak will dry out and turn rubbery if subjected to the same cooking times.
Can I cook the noodles separately?
Yes, you can cook them separately in a pot of salted water, but boiling your egg noodles directly in the beef gravy allows them to act like little sponges, soaking up the rich flavors of the broth from the inside out. However, if you anticipate having substantial leftovers, cooking the noodles separately prevents them from absorbing all your precious gravy while sitting in the refrigerator overnight.
How do I store and safely reheat leftovers?
Allow your leftovers to cool to room temperature, then transfer them into an airtight container and store them in the refrigerator for up to 4 days. Because the egg noodles will continue to absorb the liquid as they sit, the gravy will naturally thicken into a dense sauce. When reheating on the stovetop or in the microwave, simply stir in a splash of beef broth or water to loosen the gravy back up to its original, velvety consistency.
Can I freeze beef and noodles for later use?
You can freeze the beef and gravy base beautifully for up to 3 months in a freezer-safe container. However, we highly advise against freezing the dish with the noodles already added. Cooked egg noodles lose their structural integrity when frozen and thawed, turning into a mushy, unappealing texture. For the best results, freeze the rich beef base alone, thaw it overnight in your fridge, bring it to a simmer on the stovetop, and drop in fresh egg noodles right before serving!
Did You Try Our Recipe?
There are no reviews yet. Be the first one to write one.